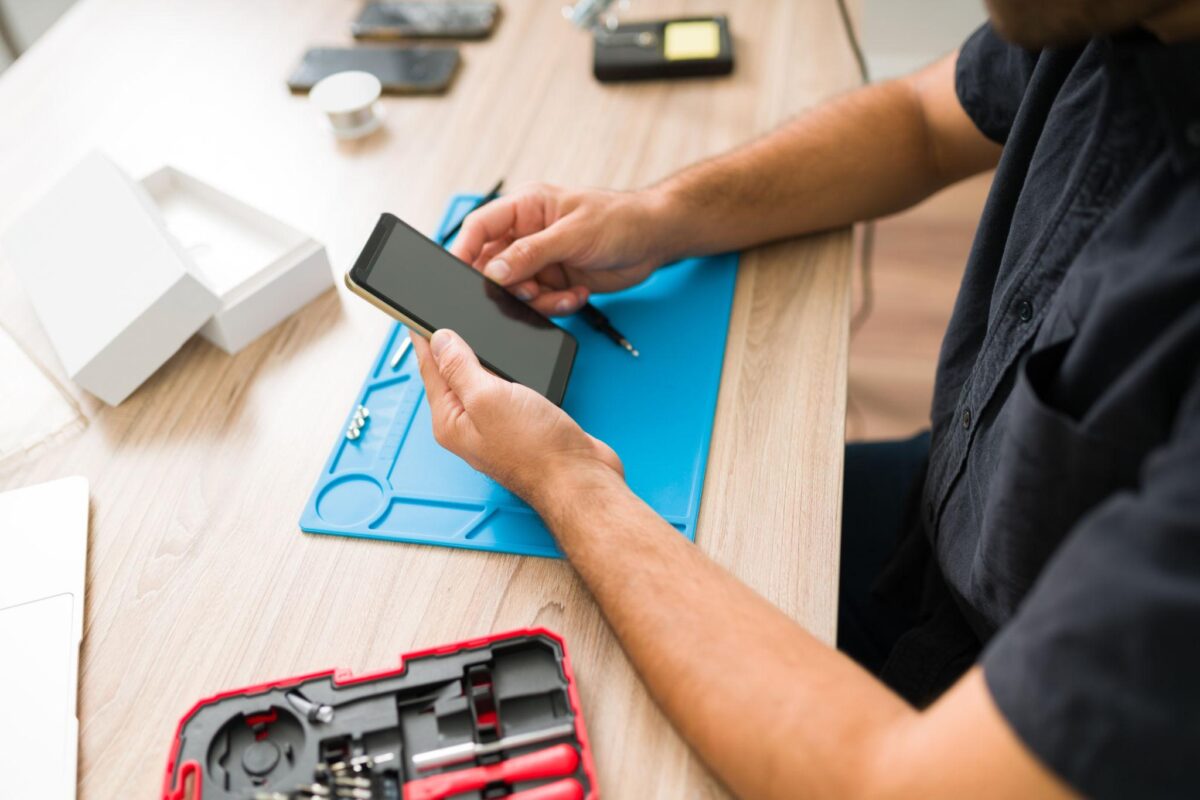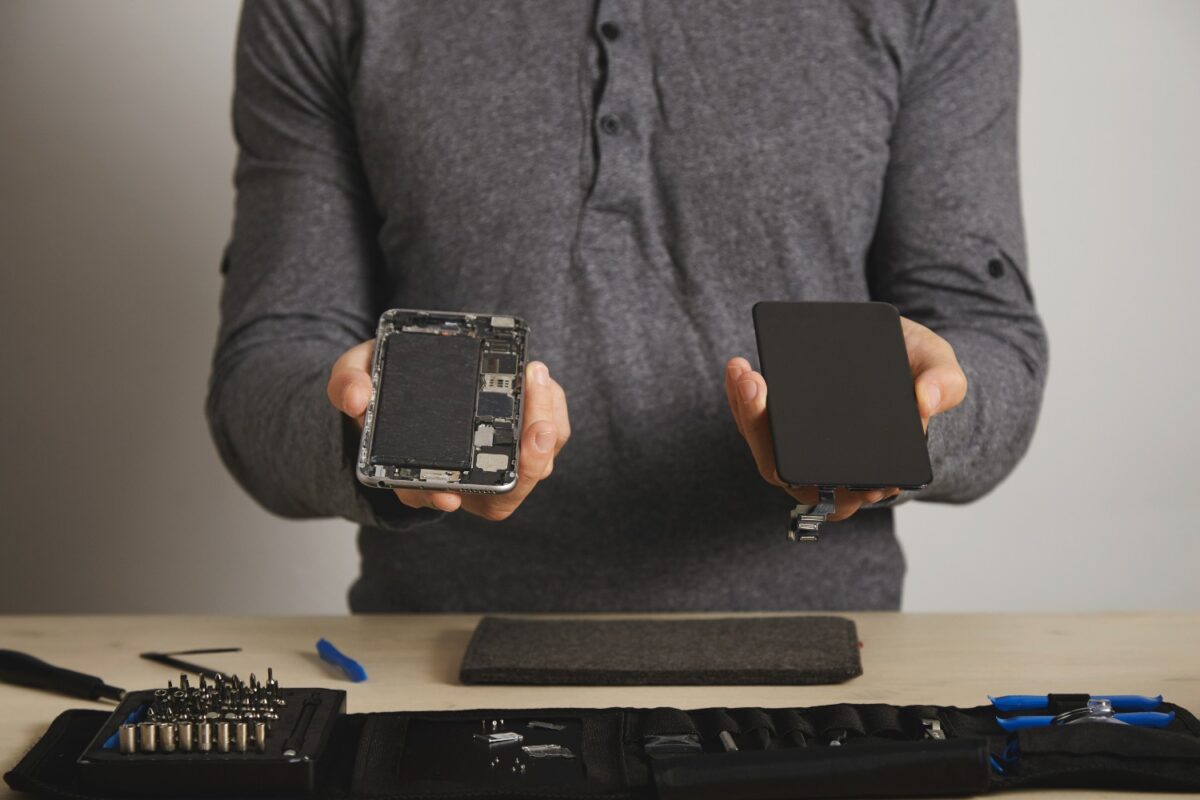
Handing over a phone you use every day, with every photo, message and password on it, to a stranger is not a comfortable feeling, especially the first time. Most of that discomfort comes from not knowing what actually happens once the device leaves your hands. This guide walks through the entire process, from the first quote to getting your phone back, exactly as it happens for a screen, battery, charging port or water damage repair, so there are no surprises either way.
Quick answer: the repair process in short
- You describe the fault and get a quote, either online, by phone or in person.
- A technician runs a full diagnostic to confirm the fault before any work starts.
- You confirm the price and the repair goes ahead, or you back out at no cost if you decide not to proceed.
- The device is opened, the faulty part is replaced, and the repair is tested before reassembly is finished.
- A final quality check confirms everything works, and you get your device back with a warranty on the work.
Most single-component repairs, a screen, a battery or a charging port, take between 30 minutes and a couple of hours. Water damage and board-level faults take longer, usually 24 to 48 hours, since they involve cleaning, drying and testing rather than a straight swap.
Step 1: Getting a quote
The process starts with a quote based on your device’s exact model and the fault you are describing. This is why the prices on our iPhone repairs, Samsung repairs, Google Pixel repairs and Huawei repairs pages are broken down by individual model rather than shown as a single flat rate. A Galaxy S24 screen and a Galaxy A14 screen are entirely different parts with different costs, so an accurate quote always needs your specific model.
At this stage, be as specific as possible about what is wrong. “Screen cracked in one corner but still works” and “screen completely black” often point to different underlying faults and can affect the quote. If you are not sure what is actually wrong, that is fine too. That is exactly what the next step is for.
Step 2: The diagnostic check
Before any repair begins, a proper technician runs a full diagnostic rather than taking your description of the fault at face value. This matters because symptoms often overlap. A phone that will not charge could be a battery, a charging port, or a cable, and the wrong assumption means paying for the wrong repair. A thorough diagnostic on a phone typically checks:
- Screen and digitiser: testing touch response across the entire surface, checking for dead pixels, discolouration, or backlight bleed.
- Battery health: checking maximum capacity and charge cycles against the original specification, and inspecting for swelling.
- Charging port and cable: testing with multiple known-working cables and chargers to rule out an external cause.
- Camera, speaker and microphone: running each in turn to confirm whether a fault is isolated or part of a wider problem.
- Liquid contact indicators: checking whether the device shows signs of past water or liquid exposure, even if it appears to be working normally.
- Physical structure: checking the frame and back glass for damage that might affect water resistance or indicate a harder drop than described.
This is also the point where a genuinely honest repairer tells you if something is not worth fixing, rather than quoting for a repair that will not solve the actual problem. If you are unsure whether repair makes sense at all on an older device, our guide on repair vs replace covers how to weigh that decision up properly.
In-store, mail-in or on-site: how you can get a device repaired
The steps above apply whichever way you get your device to us, but the practical details differ slightly.
- In-store drop-off. The most straightforward route for most repairs. You get a diagnostic and quote on the spot, and for common repairs like a screen or battery, you can often wait for it or come back within the hour.
- Mail-in repair. Useful if there is no convenient branch nearby. You describe the fault when arranging the send-in, package the device securely, and receive a confirmed quote once it arrives and is diagnosed, before any work begins.
- On-site or callout repair. For simpler jobs like a screen or battery on some models, a technician can sometimes carry out the repair at your home or workplace, with the same diagnostic and quality checks carried out on site.
Whichever route you choose, the diagnostic, confirmed pricing and quality testing steps stay exactly the same. The only thing that changes is how the device physically gets to and from the person doing the work.
Step 3: Confirming the price and backing up your data
Once the diagnostic confirms the actual fault, you get a final price before anything is opened up. If it matches the original quote, which it usually does for straightforward faults, you simply confirm and the repair proceeds. If the diagnostic uncovered something additional, you decide whether to go ahead, and you are never charged for a repair you have not approved.
This is also the point to make sure your data is backed up, particularly for repairs that involve opening the device fully, such as a battery, charging port or motherboard-level fault. Most screen and simple battery repairs do not touch your data at all, but it is good practice regardless. If your phone is not fully working and you are not sure how to back it up, our guide on how to get data off a broken phone covers every scenario, from a cracked but working screen through to a phone that will not turn on.
Step 4: The repair itself
What actually happens here depends entirely on the fault. Here is what each of the most common repairs genuinely involves.
Screen replacement
The device is powered off and the battery is disconnected first, as a safety step to avoid any risk of a short circuit while the screen assembly is out. The old, damaged screen is then carefully separated from the frame, usually with gentle heat to soften the adhesive holding it in place. Small components are transferred across to the new screen where the design requires it, such as the earpiece speaker mesh, front camera bracket or home button on older iPhones. The new screen is connected, and the device is powered back on to test touch response, colour accuracy and brightness before the adhesive is finally resealed and the device is closed up.
Battery replacement
The back panel or screen assembly, depending on the device, is opened to access the battery. Old batteries are usually held in with strong adhesive strips, which are removed carefully to avoid flexing or puncturing the cell, since a damaged lithium battery is a genuine fire risk. The new battery is fitted, reconnected, and the device is left charging briefly to confirm it registers correctly and reports accurate percentages before the case is closed.
Charging port repair
Charging port faults vary more than people expect. Sometimes the fix is as simple as clearing out compacted lint and debris that is physically blocking a good connection. Other times the port itself, or the small flex cable it sits on, needs replacing entirely. On some devices this is a straightforward connector swap, while on others it is soldered directly to the logic board and needs more advanced micro-soldering work, which is why charging port repairs can vary more in time and cost than a screen or battery.
Water damage treatment
This is the one repair that is not a simple swap. The device is opened fully and the logic board is removed and inspected under magnification for corrosion, particularly around the charging port, battery connector and any exposed connectors. It is then cleaned using an ultrasonic cleaner and specialist solutions designed to remove mineral deposits and corrosion without damaging delicate components, and thoroughly dried before any power is reapplied. Only once it is confirmed clean and dry is the device carefully powered on and tested. This is also why water damage repairs take longer than other faults, and why we never simply plug in and test a wet phone straight away. Doing so risks turning a repairable fault into a genuinely dead board. Our full water damaged phone guide covers what to do, and what not to do, in the meantime.
What happens if something unexpected turns up mid-repair
Occasionally, opening a device reveals something the original diagnostic could not have caught from the outside, a cracked LCD hiding underneath an intact top layer of glass, a previous repair using low-quality adhesive that has damaged surrounding components, or corrosion from a spill nobody realised had happened. When this occurs, the right approach is simple: the work pauses, you are contacted with an explanation and a revised quote, and nothing further happens until you decide how you want to proceed. You are never presented with a finished repair and a surprise invoice for work you did not agree to.
This is also true in reverse. Sometimes a diagnostic quote turns out to be higher than necessary once the device is actually open, for example if a fault turns out to be a simple loose connector rather than a part that needs replacing. In that case, you are charged for what was actually needed, not the original worst-case estimate.
Step 5: Quality testing and calibration
A repair is not finished the moment the new part is fitted. Before your device is handed back, a proper quality check confirms the fault is actually gone and that the repair has not introduced any new problem.
- Touch and display testing across every corner and edge of a new screen, not just the centre, since poor quality installs often show up first at the very edges.
- Face ID or fingerprint sensor checks where the repair involved a component near those sensors, since a careless screen swap can occasionally disrupt Face ID on iPhone if a cable is not seated properly.
- Charging and battery reporting checks to confirm the device charges at a normal speed and reports an accurate percentage.
- Camera, speaker and microphone tests to catch anything that might have been disturbed while the device was open.
One honest caveat worth knowing: on newer iPhones with a factory-fitted True Tone display, a screen replacement can sometimes disable True Tone colour adjustment unless specialist reprogramming tools are used to re-pair the new screen with the device, since Apple ties this feature to the original screen’s serial number. Similarly, opening any modern water-resistant phone breaks its factory adhesive seal, and while a good repair reseals it properly, the device is unlikely to be tested to the original manufacturer’s exact water resistance rating afterwards. A reputable repairer should tell you this upfront rather than let you assume nothing has changed.
Step 6: Warranty and aftercare
A repair should come with its own warranty on the parts and labour involved, separate from anything left on your original manufacturer warranty. This typically covers the specific fault that was fixed and the part that was fitted, for a set period, commonly around 12 months for reputable independent repairers. It will not usually cover unrelated new damage, such as a fresh crack from a drop after the repair, but it should cover a genuine fault with the part or the installation itself. If you are unsure how independent repair affects any remaining manufacturer warranty on your device, our guide on right to repair in the UK covers this in detail, including when a manufacturer can and cannot refuse to honour a warranty because of a third-party repair.
How long does each type of repair actually take?
| Repair type | Typical time |
|---|---|
| Screen replacement | 30 to 60 minutes |
| Battery replacement | 30 to 45 minutes |
| Charging port (connector swap) | 45 to 90 minutes |
| Charging port (micro-soldering required) | Same day to 24 hours |
| Back glass replacement | 45 to 90 minutes |
| Water damage treatment | 24 to 48 hours |
| Motherboard or logic board diagnosis | 24 to 72 hours |
These are typical times for a device in stock parts availability. Rarer or older models can occasionally take longer if a part needs to be specially sourced, which is always communicated upfront rather than discovered as a surprise delay.
Common repair myths, and what actually happens
A lot of hesitation around getting a phone repaired comes from myths that do not hold up once you understand the actual process.
“Opening my phone will void everything, including my statutory rights.” Not true. Your statutory consumer rights and any independent repairer’s own warranty are entirely separate from whether a manufacturer chooses to honour its own warranty. Genuine faults with independent repair work are still covered by the repairer, regardless of what a manufacturer’s own policy says.
“A screen replacement completely ruins water resistance.” It changes it, rather than completely ruining it. Any repair that opens the case breaks the factory adhesive seal, and while a proper repair reseals it carefully, it is honest to say the device is unlikely to be tested to its original IP rating afterwards. A splash of rain is very different from full submersion, and most everyday use is unaffected in practice.
“If something looks fine on the outside, nothing else can be wrong.” Not necessarily. This is exactly why a proper diagnostic checks components that have nothing to do with the reported fault. A phone brought in for a cracked screen occasionally reveals a battery that is already swelling, which is far safer to catch during a planned repair than to discover later.
“All replacement parts are basically the same.” They genuinely are not, and the difference shows up in touch sensitivity, colour accuracy, and how long a battery holds its charge after a few months. This is covered in full in our guide to OEM vs aftermarket phone parts.
How to tell a repairer is actually following this process
Not every repair shop operates this thoroughly, and it is worth knowing what to look for before you hand your device over anywhere.
- They quote by your exact model, not a vague “phone screen repair” price. A shop that gives you a single flat price before knowing your exact model, or without asking at all, is not pricing the actual part you need.
- They offer a warranty on the repair itself. No warranty at all is a clear sign the shop is not confident in the parts or workmanship involved.
- They tell you about trade-offs upfront, such as water resistance or True Tone, rather than letting you find out later.
- They test the device in front of you, or at least explain what was tested, rather than just handing it back and saying it is fixed.
- Their price is not dramatically below everyone else’s for the same part. A price far below the rest of the market on a like-for-like quote is usually a sign of a lower quality part, not a better deal. We cover exactly why this gap exists in our guide to OEM vs aftermarket parts.
None of these are complicated to check, and asking about them before you commit takes a couple of minutes at most. A repairer who is doing things properly will not mind being asked.
What to do before you bring your device in
A few minutes of preparation makes the whole process faster and safer for your data.
- Back up your device if it is still working, via iCloud, Google or a cable to a computer.
- Note down or remember your passcode. Technicians need this to fully test the repair, including Face ID, Touch ID and app functionality, not to access your personal data unnecessarily.
- Turn off Find My iPhone or Find My Device if you are having a screen, battery or logic board repair, since Activation Lock can prevent a technician from fully testing or, in some cases, completing certain repairs.
- Remove your SIM card and memory card if you would rather keep them with you, and remove any case or screen protector beforehand.
- Mention any previous repairs the device has had, since a prior repair using non-standard parts can occasionally affect how straightforward a new repair is.
None of this is required, and a good repairer can work around most of it, but it does mean less back and forth and a faster turnaround.
Frequently asked questions
Do I need to back up my phone before every repair?
It is good practice for any repair, but essential for anything beyond a simple screen replacement. Battery, charging port and board-level repairs involve fully opening the device, and while data is very rarely affected, backing up first removes any risk entirely.
Can I stay while my phone is repaired?
For quick repairs like a screen or battery, often yes, since these typically take under an hour. Water damage and board-level repairs take longer and are usually not done while you wait.
Will the technician see my personal data?
Your data is never browsed or accessed during a standard repair. It is only interacted with directly if you specifically request a data recovery or transfer service, and even then only with your knowledge and consent.
What happens if the quote changes after the diagnostic?
You are always told before any work begins and asked to confirm. A reputable repairer will explain exactly why the price has changed, for example if the diagnostic uncovered a second fault, rather than simply presenting a higher bill afterwards.
Is it normal for a repair to take longer than quoted?
Occasionally, usually because a part needs to be sourced or a fault turns out to be more complex once the device is open. This should always be communicated to you as soon as it is known, not left until you arrive to collect your device.
Does a repair affect my phone’s resale value?
A well-executed repair using quality parts has minimal impact on resale value compared to leaving a device damaged or non-functional. A poor quality repair, on the other hand, can noticeably reduce it, which is another reason the quality of parts and workmanship matters more than the price alone.
Ready to book a repair?
Now that you know exactly what to expect, from diagnostic through to the final quality check, booking a repair should feel a lot less like a leap of faith. Every repair we carry out follows the same process described here: honest diagnosis first, a confirmed price before any work begins, and a warranty on the finished job.
- iPhone repairs, including screen, battery, charging port and water damage repair
- Samsung repairs, including screen, battery and charging repair
- Google Pixel repairs, including screen, battery and charging repair
- Huawei repairs
- iPad repair and MacBook repairs
- Apple Watch repair
- Phone water damage repair and phone data recovery
- Tech repairs UK, for everything else we cover
Not sure yet whether your device needs a professional repair, or if the parts used actually matter? Our guide on OEM vs aftermarket phone parts explains exactly what you are paying for and why quality varies so much between repairers. Or get in touch directly on our contact us page for a free diagnostic and quote.
Back to posts